Download:
PIC_Bindshell
Introduction
I’ll be the first to admit: writing shellcode sucks. While you have the advantage of employing some cool tricks to minimize the size of your payload, writing shellcode is still error prone and difficult to maintain. For example, I find it quite challenging having to track register allocations (especially in x86) and ensure proper stack alignment (especially in x86_64). Eventually, I got fed up, stepped back, and asked myself, “Why can’t I just write my shellcode payloads in C and let the compiler and linker take care of the rest?” That way, you only have to write your payload once and you can target it to any architecture – x86, x86_64, and ARM. Also, you would have the following added benefits:
- You can subject your payload to static analysis tools.
- You can unit test your code.
- You can employ heavy compiler and linker optimizations to your payload.
- The compiler is much better at optimizing assembly for size and/or speed than you are.
- You can write your payload in Visual Studio. Intellisense, FTW!
Now, you could say I’m a bit of a Microsoft fan boy. That said, considering the majority of the shellcode I’ve written has been for Windows, I decided to take on the challenge of using only Microsoft tools to emit position independent shellcode. The fundamental challenge however, is that the Microsoft C compiler – cl.exe does not emit position independent code (with the exception of Itanium). Ultimately, to achieve this goal, we’re going to have to rely upon some C coding tricks and some carefully crafted compiler and linker switches.
Shellcode – Back to the Basics
When writing shellcode, whether you do it in C or assembly, the following rules apply:
1) It must be position independent.
In most cases, you cannot know a priori the address at which your shellcode is going to land. Therefore, all branching instructions and instructions that dereference memory must be executed relative to the base address of where you were loaded. The gcc compiler has the option of emitting position independent code (PIC) but unfortunately, Microsoft’s compiler does not.
2) Your payload is on the hook for resolving external references.
If you want your payload to do anything useful, at some point, you’re going to have to call Win32 API functions. In your typical executable, external symbolic references are satisfied in one of two ways: either they are resolved by the loader at startup by walking the import directory of the executable or they are resolved dynamically at runtime using GetProcAddress. Shellcode neither has the luxury of being loaded by a loader nor can it just call GetProcAddress since it has no idea what the address of kernel32!GetProcAddress is in the first place – a classic chicken and the egg problem.
In order to resolve the addresses of library functions, shellcode must resolve function names on its own. This is typically accomplished in shellcode with a function that takes a 32-bit module and function hash, gets the PEB (Process Environment Block) address, walks a linked list of the loaded modules, scans the export directory of each module, hashes each function name, compares it against the hash provided, and if there is a match, the function address is calculated by adding its RVA to the base address of the loaded module. I’m obviously glossing over the details of the process in the interest of space but fortunately, this process is widely used (e.g. in Metasploit) and well documented.
3) Your payload must save stack and register state upon entry and restore state upon exiting the shellcode.
We will get this for free by writing the payload in C by virtue of having function prologs and epilogs emitted by the compiler for each function.
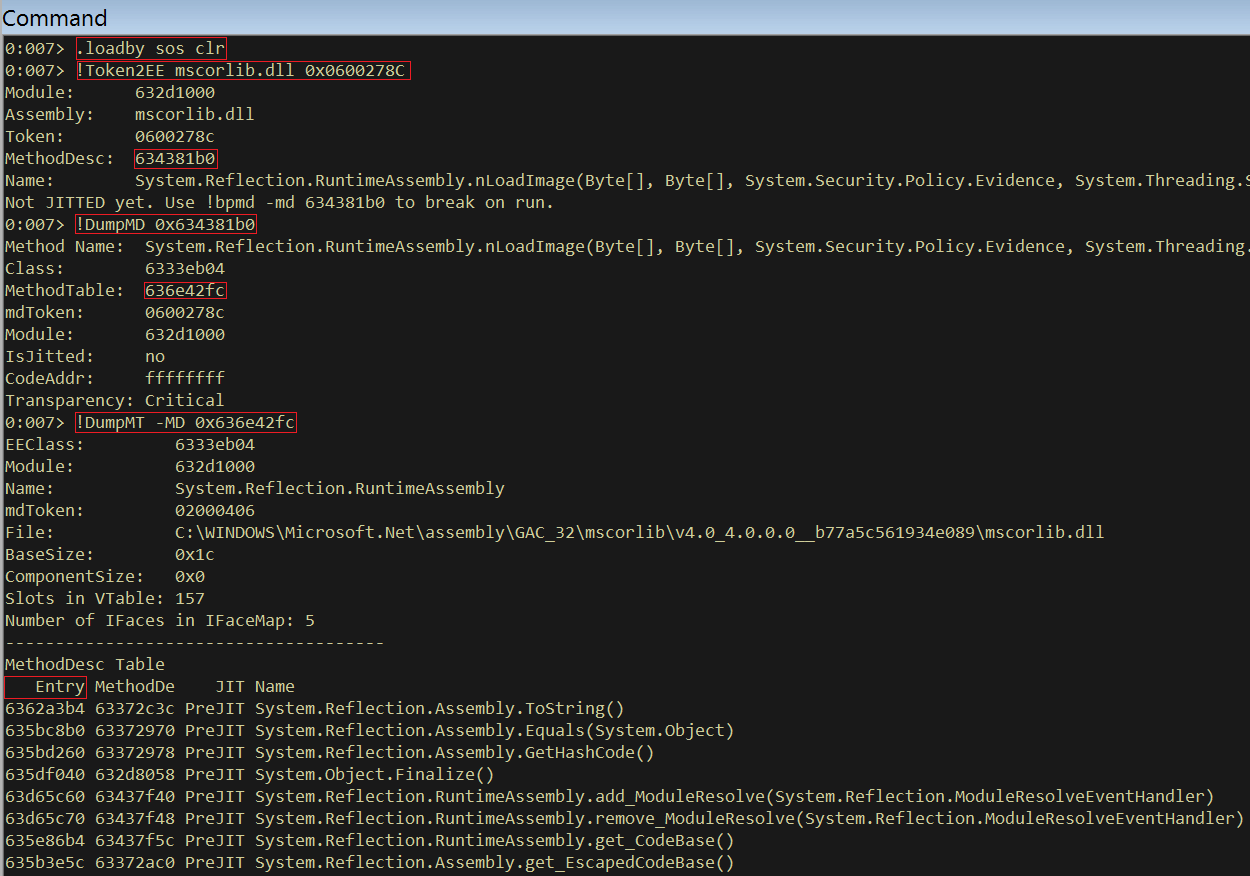
GetProcAddressWithHash Function in C
In the download provided, the GetProcAddressWithHash function resolves Win32 API exported function addresses. I adapted the logic of the function from the
Metasploit block_api assembly function:
Going from top to bottom, you may notice a few things:
• I defined ROTR32 as a macro.
The Metasploit payload uses a rotate-right hashing function. Unfortunately, there is no rotate right operator in C. There are several rotate right compiler instrinsics but they are not consistent across processor architectures. The ROTR32 macro implements the logic of a rotate right operation using the equivalent logical operators available to us in C. What’s cool, is that the compiler will recognize that this macro performs a rotate right operation and it will actually compile down to a single rotate right assembly instruction. That’s pretty bas ass, in my opinion.
• I redefine two structure definitions.
Both of those structure are defined in winternl.h but Microsoft’s public definition is incomplete so I simply redefined the structures with the fields I needed.
• There is a different method of getting the PEB address depending upon the processor architecture you’re targeting.
The PEB address is the first step in resolving exported function addresses. The PEB is a structure that contains several pointers to the loaded modules of a process. In x86 and x86_64, the PEB address is obtained by dereferencing an offset into the fs and gs segment registers, respectively. On ARM, the PEB address obtained by reading a specific register from the system control processor (CP15). Fortunately, there is a respective compiler intrinsic for each processor architecture. For whatever reason though, the compiler was not emitting correct ARM assembly instruction so I had to tweak instructions in a very counterintuitive manner.
Implementing Your Primary Payload in C
I’m going to be using a simple bind shell payload as an example for this post. Here is my implementation in C:
There are a few things I needed to be mindful of while writing the payload in order to satisfy the requirements imposed by position independent shellcode:
• I defined HTONS as a macro.
It was easier to define this as a macro versus incurring the overhead of calling ws2_32.dll!htons. Besides, HTONS is ideally suited for a macro since all it does is convert a USHORT from host to network byte order.
• I had to manually define the function signatures for each Win32 API function.
This was necessary since each call to GetProcAddressWithHash needs to be cast to a function pointer. Also, with Intellisense, calling the function has the look and feel of calling a normal Win32 function in Visual Studio. This part is admittedly a pain in the ass. It certainly beats the guess and check method though when writing assembly by hand!
• "ExecutePayload" is the function that implements the primary logic of the bind shell.
Normally, you would call the function "main". One of the problems I ran into though is that when the linker encounters a function named “main,” it expects to be linked against the C runtime library. Obviously, shellcode shouldn’t and doesn’t require the CRT so renaming the entry point to something besides “main” and explicitly telling the linker your entry point function obviates the need to link against the CRT.
• “cmd” and “ws2_32.dll” are explicitly defined as null-terminated character arrays.
This technique was first
described by Nick Harbour as a way to force the compiler to allocate strings on the stack. By default, strings are stored in the .rdata section of a binary and relocations are defined in the executable for any references to those strings. Storing strings on the stack allows for references to be made in a position independent manner.
• SecureZeroMemory is used to initialize stack variables
SecureZeroMemory is basically a memset that cannot be compiled out. It is also an inline function meaning I am spared the overhead of having to resolve the address of memset.
• The rest of the payload, is your typical, run-of-the-mill C… only slightly malicious.
Ensuring Proper Stack Alignment in 64-bit Shellcode
32-bit architectures (i.e. x86 and ARMv7) require that function calls be made with 4-byte stack alignment. It is pretty much guaranteed that your shellcode will land with 4-byte alignment. 64-bit shellcode however, needs to have 16-byte stack alignment. This is due to a requirement imposed by utilizing 128-bit XMM registers. Those who have written 64-bit shellcode have most likely experienced crashes at an instruction using an XMM register upon calling Win32 a function. This is due to stack misalignment.
Executable files, when loaded are afforded the luxury of having guaranteed alignment during CRT initialization. Shellcode is afforded no such luxury, however. So, in order to ensure that my shellcode hits its entry point with proper stack alignment on 64-bit, I had to write a short assembly stub that guaranteed alignment. Then, as a pre-build event in Visual Studio, I assemble the shellcode with ml64 (MASM – the Microsoft Assembler) and specify the resulting object file as a dependency for the linker.
Here is the code that performs the alignment:
Basically, what’s happening here is I am preserving the original stack value, and’ing RSP (the stack pointer) to achieve 16-byte alignment, allocating
homing space, and then calling the original entry point – ExecutePayload (i.e. the bind shell code).
I also have a small helper function in C that simply calls AlignRSP:
This little helper function will then serve as the new entry point that will be specified to the linker. I will explain shortly why this wrapper function is necessary.
Compiling the Shellcode
I use the following compiler (cl.exe) command line switches in my Visual Studio 2012 project:
/GS- /TC /GL /W4 /O1 /nologo /Zl /FA /Os
Each switch warrants an explanation as it is relevant to the shellcode that will be generated.
/GS-: Disables stack buffer overrun checks. If enabled, external stack cookie setter and getter functions would be called which would no longer make the shellcode position independent.
/TC: Tells the compiler to treat all files as C source files. One of the quirks of this command-line switch is that
all local variables
must be defined at the beginning of a function. If they are not, unintuitive errors will occur when attempting to compile.
/GL: Whole program optimization. This option tells the linker (via the /LTGC option) to optimize across function calls. I chose this option because I just really like the idea of fully-optimized shellcode. :D
/W4: Enables the highest warning level. This is just good practice.
/O1: Tells the compiler to favor small code over fast code – an ideal attribute of shellcode.
/FA: Outputs an assembly listing. This is optional. I just prefer to validate the assembly code emitted by the compiler.
/Zl: Omit the default C runtime library name from the resulting object file. This serves to tell the linker that you don’t intend to link against the C runtime.
/Os: Another way to tell the compiler to favor small code.
Linking the Shellcode
The following linker (link.exe) switches are used for x86/ARM and x86_64, respectively:
/LTCG /ENTRY:"ExecutePayload" /OPT:REF /SAFESEH:NO /SUBSYSTEM:CONSOLE /MAP /ORDER:@"function_link_order.txt" /OPT:ICF /NOLOGO /NODEFAULTLIB
/LTCG "x64\Release\\AdjustStack.obj" /ENTRY:"Begin" /OPT:REF /SAFESEH:NO /SUBSYSTEM:CONSOLE /MAP /ORDER:@"function_link_order64.txt" /OPT:ICF /NOLOGO /NODEFAULTLIB
Each switch warrants an explanation as it is relevant to the shellcode that will be generated.
/LTCG: Enables global optimizations by the linker. The compiler has little to no control over optimizations across function calls since it compiles on a function-by-function basis. Therefore, the linker is ideally suited to perform optimizations across function calls since it receives all of the object files emitted by the compiler.
/ENTRY: Specifies the entry point of the binary. This is “ExecutePayload” (the bind shell logic) in x86 and ARM. However, in x86_64, it is “Begin” – the call to the stack alignment stub – “AlignRSP”. The reason the “Begin” function is necessary in 64BitHelper.h is because since we’re eventually emitting shellcode, we have to explicitly set the link order (via the /ORDER switch). The Microsoft linker doesn’t allow you to specify link order for extern functions (i.e. AlignRSP). To get around this, I simply wrapped AlignRSP in a function. “Begin” is then specified as the first function to be linked. That way, it will be the first code to be called in the shellcode.
/OPT:REF: Eliminates functions and/or data that are never referenced. We want our shellcode to be as small as possible. This linker optimization will reduce shellcode size by eliminating dead code/data.
/SAFESEH:NO: Do not emit SafeSEH handlers. Shellcode has no need for registered exception handling.
/SUBSYSTEM:CONSOLE: As far as shellcode goes, the subsystem is irrelevant. Specifying “CONSOLE” though will allow you to test the compiled exe from the command line.
/MAP: Generate a map file. This file is used to pull out the size of the shellcode.
/ORDER: Because we are generating shellcode, the order in which functions are linked is extremely important. Originally, it was my assumption that the entry point function would be the first function to be linked. This, however, did not turn out to be the case. The /ORDER switch takes a text file containing the functions in the order in which they should be linked. You’ll notice that the function at the top of each list is the entry point function.
/OPT:ICF: Removes redundant functions. This is optional.
/NODEFAULTLIB: Explicitly tells the linker not to attempt to use default libraries when resolving external references. This switch is handy if you accidentally have an external reference in your code. The linker will throw an error which will bring to your attention the fact that your payload cannot have any external references!
Extracting the Shellcode
After the code is compiled and linked, the final step is to pull the shellcode out of the resulting exe. This requires a tool that can parse a PE file and pull the bytes out of the .text section. Fortunately,
Get-PEHeader already does this. The only caveat though is that if you were to pull out the entire .text section, you would be left with a bunch of null padding. That’s why I wrote another script that parses the map file which contains the actual length of the code in the .text section.
For those who enjoy analyzing PE files, it is worth investigating the exe files generated. It will only contain a single section - .text and it will not have any entries in the data directories in the optional header. This is exactly what I sought after – a binary without any relocations, extraneous sections, or imports.
Build Steps: PIC_Bindshell
PIC_Bindshell.zip includes a Visual Studio 2012 project. I tested it on both VS2012 Express and Ultimate Edition. Just load the solution file (*.sln) in Visual Studio, select the architecture you want to target, and then build. What is output is an exe and a shellcode (*.bin) payload.
The Express Edition of Visual Studio 2012 does not support compiling for ARM. Also, if this is your first time compiling for ARM, Visual Studio will throw the following error upon attempting to compile:
C:\Program Files (x86)\MSBuild\Microsoft.Cpp\v4.0\V110\Platforms\ARM\PlatformToolsets\v110\Microsoft.Cpp.ARM.v110.targets(36,5): error MSB8022: Compiling Desktop applications for the ARM platform is not supported.
You also need to remove the following line from “C:\Program Files (x86)\Microsoft Visual Studio 11.0\VC\includecrtdefs.h” (338):
#error Compiling Desktop applications for the ARM platform is not supported.
Simply remove those lines, restart Visual Studio, and then you’ll be good to go.
Conclusion
With a clearer understanding of how the Microsoft compiler and linker work in concert, it is possible to write fully optimized Windows shellcode in C that can be targeted to any supported processor architecture. That doesn’t mean that you shouldn’t have a clear understanding of the assembly language you’re targeting, though. It just means you don’t have to waste cycles writing large quantities of assembly language by hand. Also, I’ll trust the compiler over my feeble brain any day.
BTW, my 64-bit shellcode uses XMM registers. Does yours? :P